
 Beginning steps of preparation. A - the collected block prior to preparation. B - supplies needed. C - application of vinac using a paintbrush. D - application of thin superglue to stabilize parts of the bone.
First off, the bone had to be stabilized. Vinac and Butvar are two acetone-based consolidant glues which are very thin (i.e. have a low viscosity) and soak into porous bone well. In this case, I was not satisfied with vinac alone, so I began by dripping superglue into the most poorly preserved parts of the bone; superglue is also thin enough for this task, although it is substantially more difficult to reverse if you screw something up. I followed this by a liberal application of vinac onto the bone. I also painted vinac onto the sandstone where I would later pour epoxy. I did not want the outermost layer of the sandstone to flake off of the cured epoxy and take the bone with it, or alternatively, have only part of the bone stick onto the epoxy plate and the rest fragment off.
 Epoxy application onto the fossil. A - a rolled up cylinder of paper serves as a convenient and cheap tool to drip epoxy with (as opposed to popsicle sticks or tongue depressors). B and C - the rolled up paper tube is used to drip epoxy. D - the epoxy sheet is allowed to cure overnight.
Part two of the preparation process was to apply a generous layer of epoxy, once the vinac had cured. Two part epoxy comes in paired tubes, and has to be mixed - I usually just mix it onto a piece of scratch paper. I tear off one side, and roll it up to use as a "honey dripper" (you know, like the thing you see in honey nut cheerios commercials and cereal boxes) to collect and drip epoxy from. It is imperative to try and mix it 1-1 - it can be difficult, because sometimes pushing on the plunger results in one tube being pushed more than the other, and you get something more like 1.3-1, which will take longer to cure and may not cure ever, which is a really bad problem if you're working on an important specimen. Don't screw that up. Sometimes, there is also more of a bubble in one tube, making one of the component parts come out more than the other; you can mitigate this by pushing back on the sides of the plunger, making the other tube extrude more epoxy (maybe I should do a post on beginner epoxy tips).
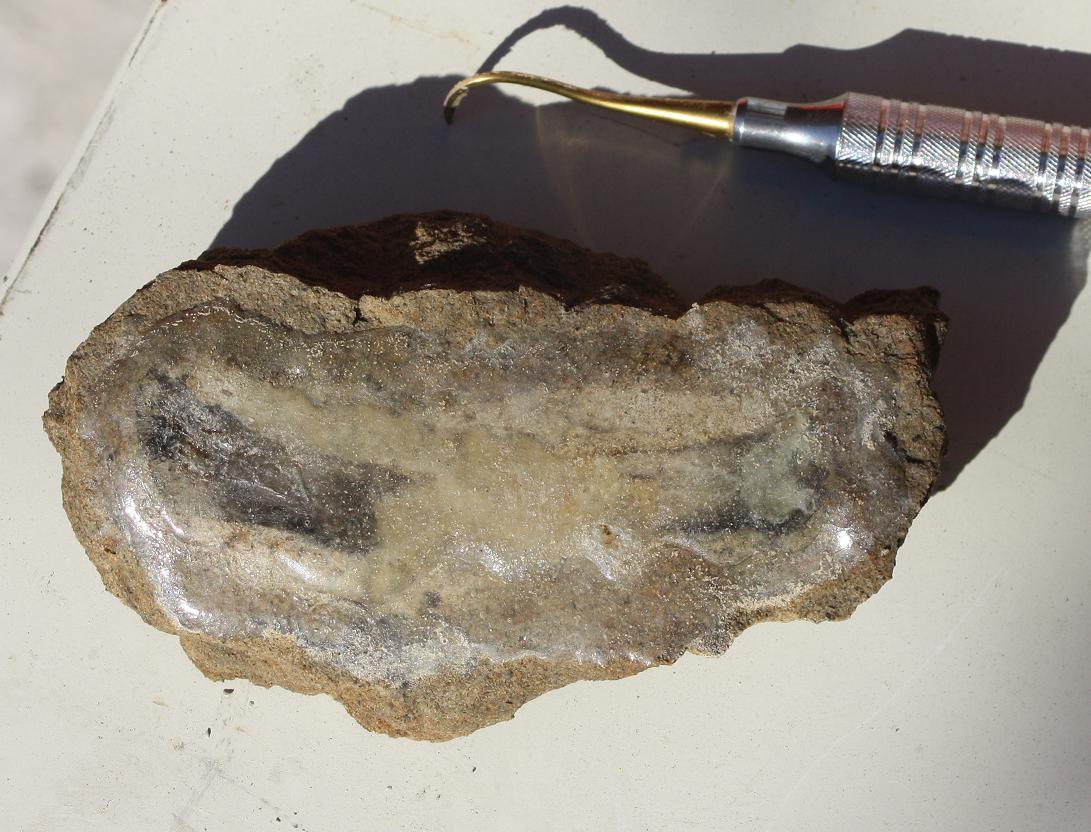 A second coat of epoxy was applied along the bone in order to strengthen it, and
was allowed several days to cure. Once it was cured, the soft sandstone matrix was wetted for easy removal, and the block was picked away and carved down to size.
The initial coat came out sort of thin in places, which I thought would be too flimsy. I decided to mix some more epoxy and add a second, thicker coat right up along the bone. The first coat was still sticky to touch even after 24 hours, so after I added this second coat, I allowed it to cure for about four or five days while my fiance and I went on vacation. When we returned, I soaked the sandstone block in warm water and allowed the sandstone to become saturated; Purisima Formation sediment is much easier to prepare and separates from bone much more easily when wet - I estimate it makes preparation take 2/3 to 1/2 less time than it would if the sandstone were dry. The block was carved down to a size roughly equal with the epoxy plate.
 Preparation of the sandstone off of the bone and epoxy plate. A - one centimeter of sandstone left. B - a small bit of the ventral tubercle (a small dark spot of bone down and to the left of the 'B') is exposed. C - it doesn't take more than another ten minutes to expose nearly the entire proximal end of the bone. D - after some more work with a dental pick and a wet toothbrush, the preparation is finished. E - the finished product, after vinac application.
The above picture shows the progress of preparation. The final product shows the important bits of the cranial/anterior surface of the bone. Additionally, where the middle of the shaft had broken away it left a slight mold that more or less shows the shape and curvature of the shaft - the epoxy filled in this as a small cast, and the original shape of the bone can be seen. The only unfortunate thing about this is that the mancalline "scar" that allows identification of various species is not really accessible - it is probably preserved, and the pneumatic foramen is filled in with sediment; preparation of this would require removal of some of the epoxy around the ventral tubercle. It does, however, preserve a slight muscle attachment crest on the bicipital crest, which suggests this specimen may belong to Mancalla lucasi as well. Either way, this specimen indicates that this part of the Purisima is Pliocene in age.


